- Users create a single set of credentials with Entra ID
- Entra ID lets users log in to many applications, including Y Managers, with these credentials
- Entra ID keeps users’ login details separate from their Y Managers usage data
Required Permissions
Entra ID - Any user with application management permission (Global Admin, Application Admin) Y Managers - Any user with “Admin” system roleEntra ID configuration
- In Entra ID portal (portal.azure.com) navigate to Microsoft Entra ID
- In left side menu, click on App registrations
- Click + New registration
-
Provide the Name of the application (e.g. Y Managers API) and leave everything else as default of blank.
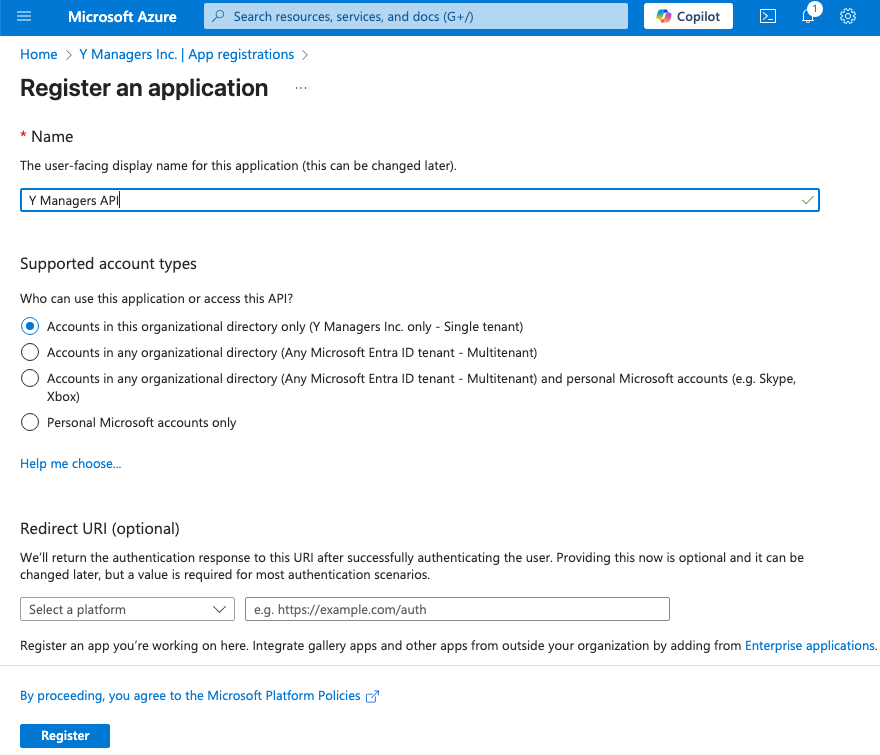
- Click Register
- In the Overview page, copy the values for the Directory (tenant) ID and the Application (client) id value.
- Expand the Manage menu section
- Click Certificates & secrets
- Click + New client secret
- Enter the Description (e.g Y Managers app) and choose the Expiration date.
- Click Add
- Copy the Value of the newly created secret (this is known as the Client Secret)
- Click API Permissions menu item
- Click + Add a permission
- Click Microsoft Graph
- Click Application permissions
- In the search bar type Directory.Read.All
-
Expand Directory and check the Directory.Read.All permission
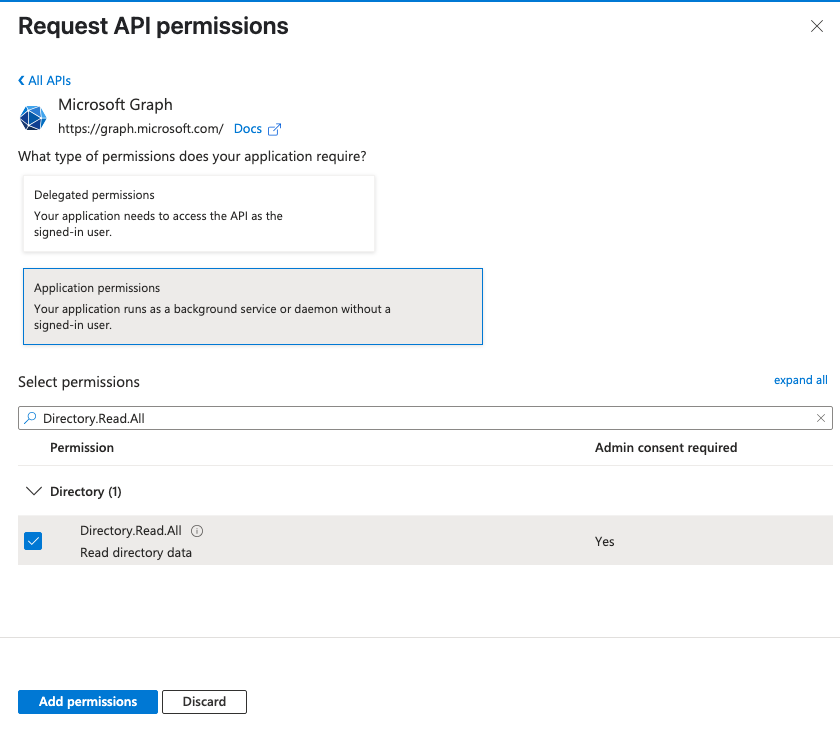
- Click Add permissions
- Click Grant admin consent for your <organization name>
- Click Yes to cofirm granting admin consent
- Ensure the Directory.Read.All permission now has Status as Granted
Y Managers configuration
- In Y Managers application expand Settings menu and click Admin
- Click Single Sign-On (SSO) tab
- Click the switch to Enable Single Sign-On (SSO) or make sure it is already enabled
- In the provided fields enter values for Tenat ID, Client ID and Client Secret
- When the button Get domains appears, click it
-
A list of Entra ID verified domains should appear in the table below
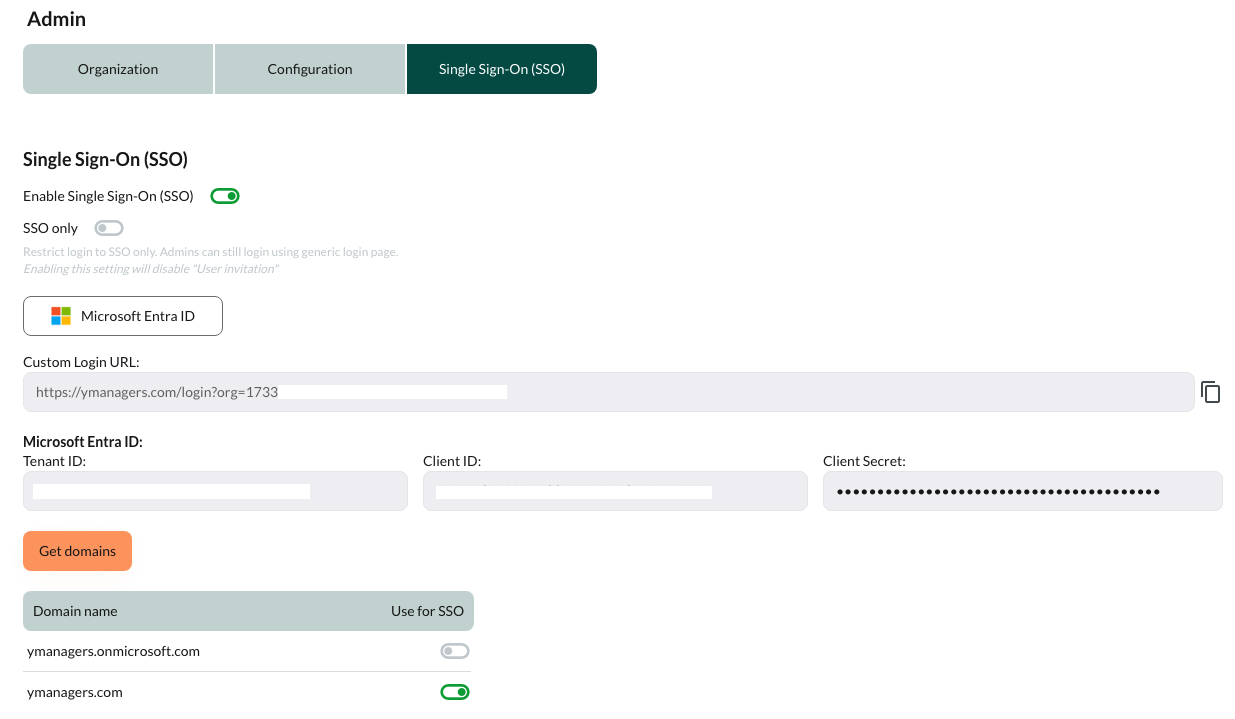
- Click the switches to enable using one or more domains for your organization
Custom login URL
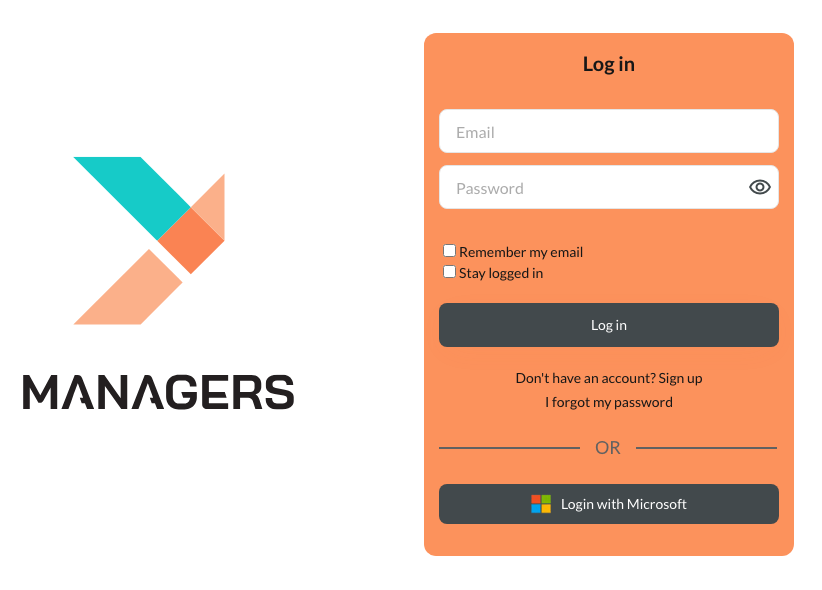
Your organization’s custom SSO login URL is shown on the Y Managers SSO administration page. Once you enable SSO for your organization, users should be directed to this URL. On the login page you will now see a Login with Microsoft button.